
Sensor Dust Check
Upload a test shot at f/16 and instantly see how much dust sits on your sensor, with advice on whether it needs cleaning.
Dust on your sensor shows up as dark specks that sit in the same spot in every photo, most clearly at f/16 or f/22. Take a test shot of an even surface, upload it here and the tool stretches the contrast so every speck becomes visible. You instantly see how many spots there are and whether cleaning is worth it.
- Set your camera to aperture priority (A or Av) and pick f/16 or f/22, at your lowest ISO. Slight overexposure (+1) is fine: better bright than dark.
- Switch the lens to manual focus and defocus it completely. Standing close to a wall while focused at infinity works well.
- Photograph an even surface: a white wall, a clear blue sky or the white test panel below. Feel free to move the camera during the exposure, it blurs away texture.
- Upload the photo as a JPEG. Browsers cannot read RAW files.
Drop your test shot here
or click to choose. JPG, PNG or WebP, max 60 MB. Your photo never leaves your device.
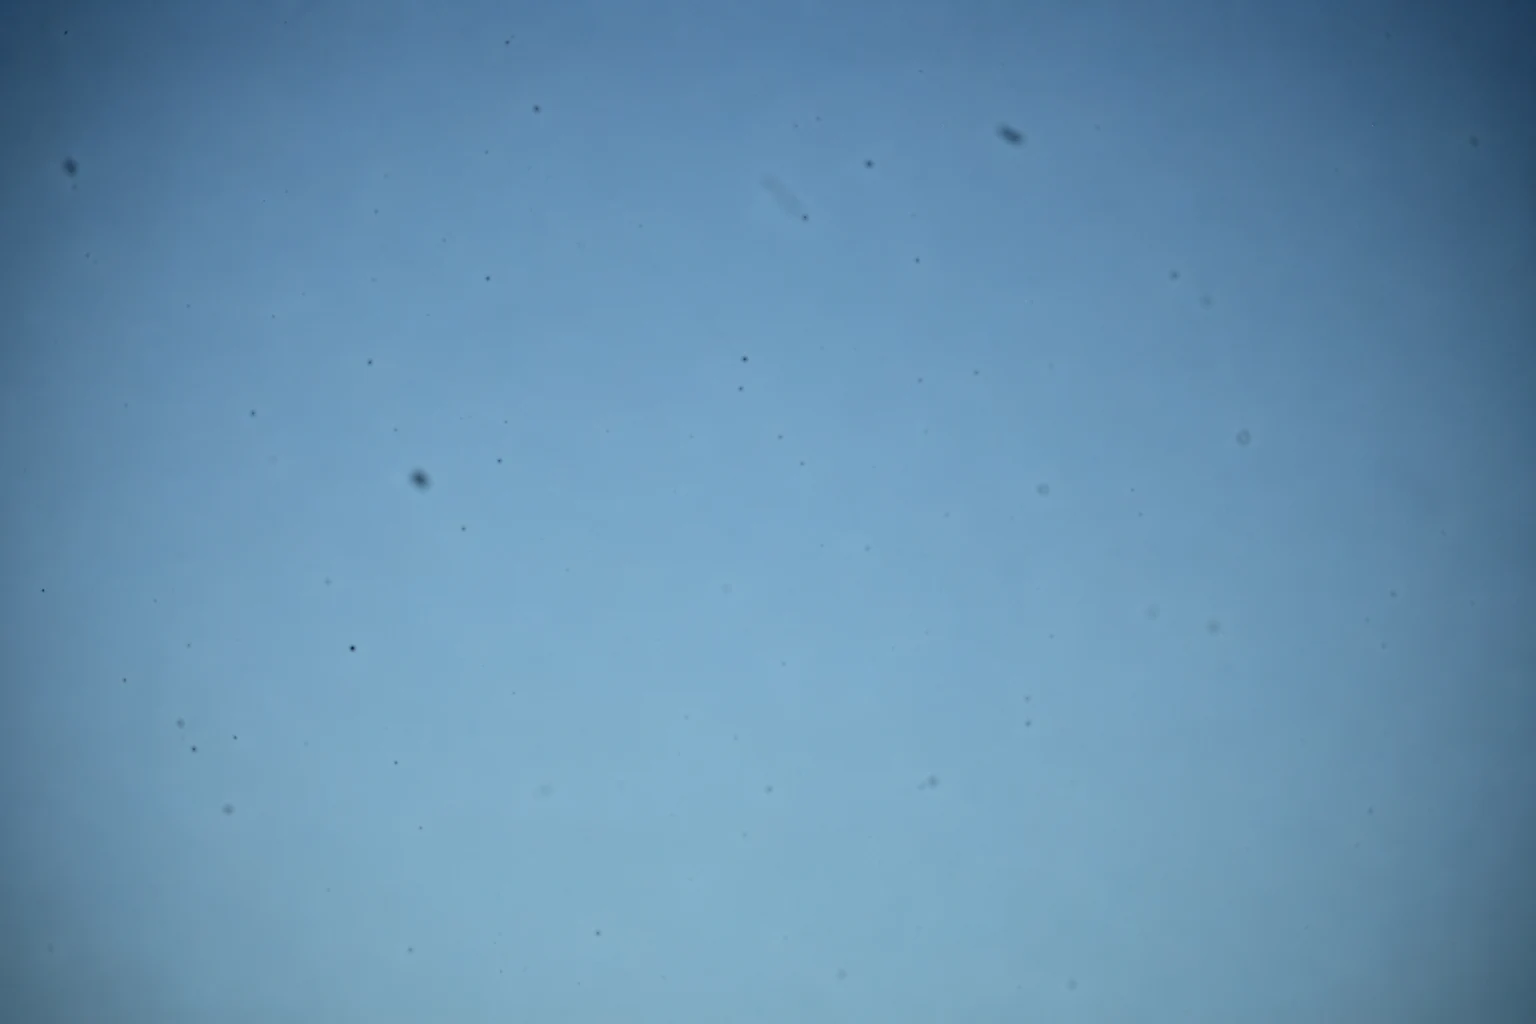
Real test shots of a blue sky. Against an even surface the spots stand out; in normal photos you often only notice them once you look.
EXIF parsing: exifr (MIT licence)
Sensor Dust Check: how it works
You photograph a clear blue sky at f/11 and back home you spot them on screen: faint dark blobs, in exactly the same place in every photo. That is not dirt on your lens but dust on your sensor. This check tells you within a minute how bad it is, without installing software and without your photo ever leaving your device.
How does dust get in there?
Every time you change a lens, your mount is open and air drifts in, carrying dust with it. Zoom lenses pump air around as you zoom, too. On mirrorless cameras the sensor is extra exposed: there is no mirror in front of it anymore. Some particles blow out again by themselves or get shaken off by the camera's cleaning mechanism. Whatever sticks shows up in your photos.
Why you do not always see the dust
Dust floats a fraction of a millimetre above the sensor, on the filter glass. At a wide aperture like f/2 light passes the particle from all sides and its shadow blurs into nothing. Stop down to f/11, f/16 or f/22 and the light beam narrows, so every particle casts a sharp shadow. That is why sensor dirt shows up mostly in landscapes and architecture, and why you take the test shot at your smallest aperture: that reveals everything that is really there.
What the tool does with your test shot
The check first removes the natural light falloff and vignetting from your photo. Then it stretches the contrast hard, the same trick as the levels slider in Lightroom or Photoshop, but automatic. What remains is a light grey field on which every dust spot stands out. The tool counts the spots, measures their size and darkness, and turns that into a verdict: clean, slightly dirty or cleaning recommended. The sensitivity slider lets you decide how strict the measurement is.
The blower comes first
Loose dust you can remove yourself. Select the cleaning mode in your camera menu, so the shutter opens and the sensor is exposed. Hold the camera with the opening facing down and give a few firm puffs with a blower. Never use canned air, which can leave propellant on the sensor, and never touch the sensor with anything. Then take a new test shot and compare. That usually gets rid of most of it.
When to have it cleaned
If spots remain after blowing, the dirt is stuck: pollen, a grease particle or a droplet mark. That only comes off with a wet clean. You can do it yourself with swabs and cleaning fluid, but it remains precision work on the most delicate part of your camera. In the Netherlands I take my own cameras to Chipclean in Overasselt: by appointment, ready while you wait. A professional clean costs a fraction of a new sensor.
Prevention is easier
No camera stays completely dust-free, but you can limit it a lot. Change lenses with the mount facing down, out of the wind if you can. Switch the camera off before changing, a powered sensor attracts dust. And never leave the body open: put the new lens or a body cap on straight away. Run this check every few months and a dirty sensor will never surprise you at the worst possible moment.
Want to know the settings your test shot was taken with? The EXIF reader pulls all capture data from your file. And the depth of field calculator shows how much depth of field each aperture gives you.
Frequently asked questions
Why does the test shot need f/16 or f/22?
Dust floats just above the sensor. At a small aperture the light beam is narrow, so every spot casts a sharp shadow; at f/2.8 the shadow blurs into nothing. At f/16 to f/22 you see everything that is really there.
Is my photo sent anywhere?
No. The analysis runs entirely in your own browser. Your test shot never leaves your device and is not stored anywhere.
Does the tool see all the dirt?
The check works on a JPEG and is a good indication, but very fine or translucent dirt may not show. If you see spots in your own photos that the tool misses, raise the sensitivity.
Can dust damage my sensor?
Loose dust cannot, it sits on the filter glass in front of the sensor rather than on the sensor itself. Careless cleaning is the real risk. Blow loose dust away with a blower and have stuck dirt wet-cleaned.
How often should I check my sensor?
Every few months is enough for most photographers. If you change lenses often or shoot outdoors a lot, do it more frequently, and always before an important job.